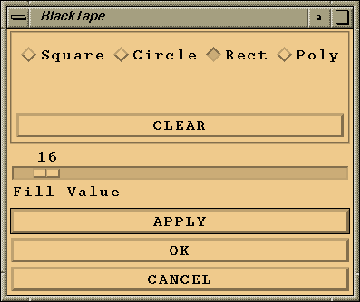
Figure 2: BlackTape Window


Regions of interest can be defined and filled in with the byte value specified in the Fill Value slider. Select the type of region that is desired (Square, Circle, Rect(angular), Poly(gon)) and define the region by clicking on the active image window. A rectangle is defined by clicking with the left mouse button once within the active image and then clicking a second time with the same button. This will define opposite corners of a rectangle. A polygon is defined by consecutive left-button clicks while the last point is chosen with the right mouse button.
Use the Clear button to erase all regions that have been defined.
Use the Apply button to permanently set the selected regions of interest as specified and remain in the blacktape mode.
Use the OK button to return to the main menu after permanently altering the image as specified.
Use the Cancel button to return to the main menu without altering the image.